Jupyter
Lets walk through https://github.com/gpuedge/examples/tree/main/jupyter
Dockerfile like so.
FROM ubuntu:22.04
ENV DEBIAN_FRONTEND noninteractive

RUN apt-get update && apt-get install -y vim git curl wget locate locales apt-transport-https apt-utils \
    && apt-get clean && apt-get autoremove --yes

ENV LANGUAGE en_US.UTF-8
ENV LANG en_US.UTF-8
ENV LC_ALL en_US.UTF-8
RUN echo "en_US UTF-8" >> /etc/locale.gen && locale-gen

WORKDIR "/root"

#install jupyter
RUN apt-get update \
    && apt-get install -y python3 python3-pip \
    && apt-get clean && apt-get autoremove --yes \
    && pip3 install numpy scipy sklearn tensorflow torch pandas matplotlib jax \
    && pip3 install jupyterlab

#install cftunnel
RUN wget --no-verbose https://github.com/cloudflare/cloudflared/releases/latest/download/cloudflared-linux-amd64.deb \
    && dpkg -i cloudflared-linux-amd64.deb \
    && rm cloudflared-linux-amd64.deb

#setup init because cftunnel
RUN echo '#!/bin/bash' >> /start.sh \
    && echo 'cloudflared tunnel --url "http://localhost:8080" &' >> /start.sh \
    && echo '/usr/local/bin/jupyter-lab --no-browser --allow-root --NotebookApp.token="" --NotebookApp.password="" --NotebookApp.allow_origin="*" --NotebookApp.disable_check_xsrf=True --NotebookApp.allow_remote_access=True --ip 0.0.0.0 --port 8080 --notebook-dir=/persist' >> /start.sh \
    && chmod +x /start.sh

CMD ["/start.sh"]
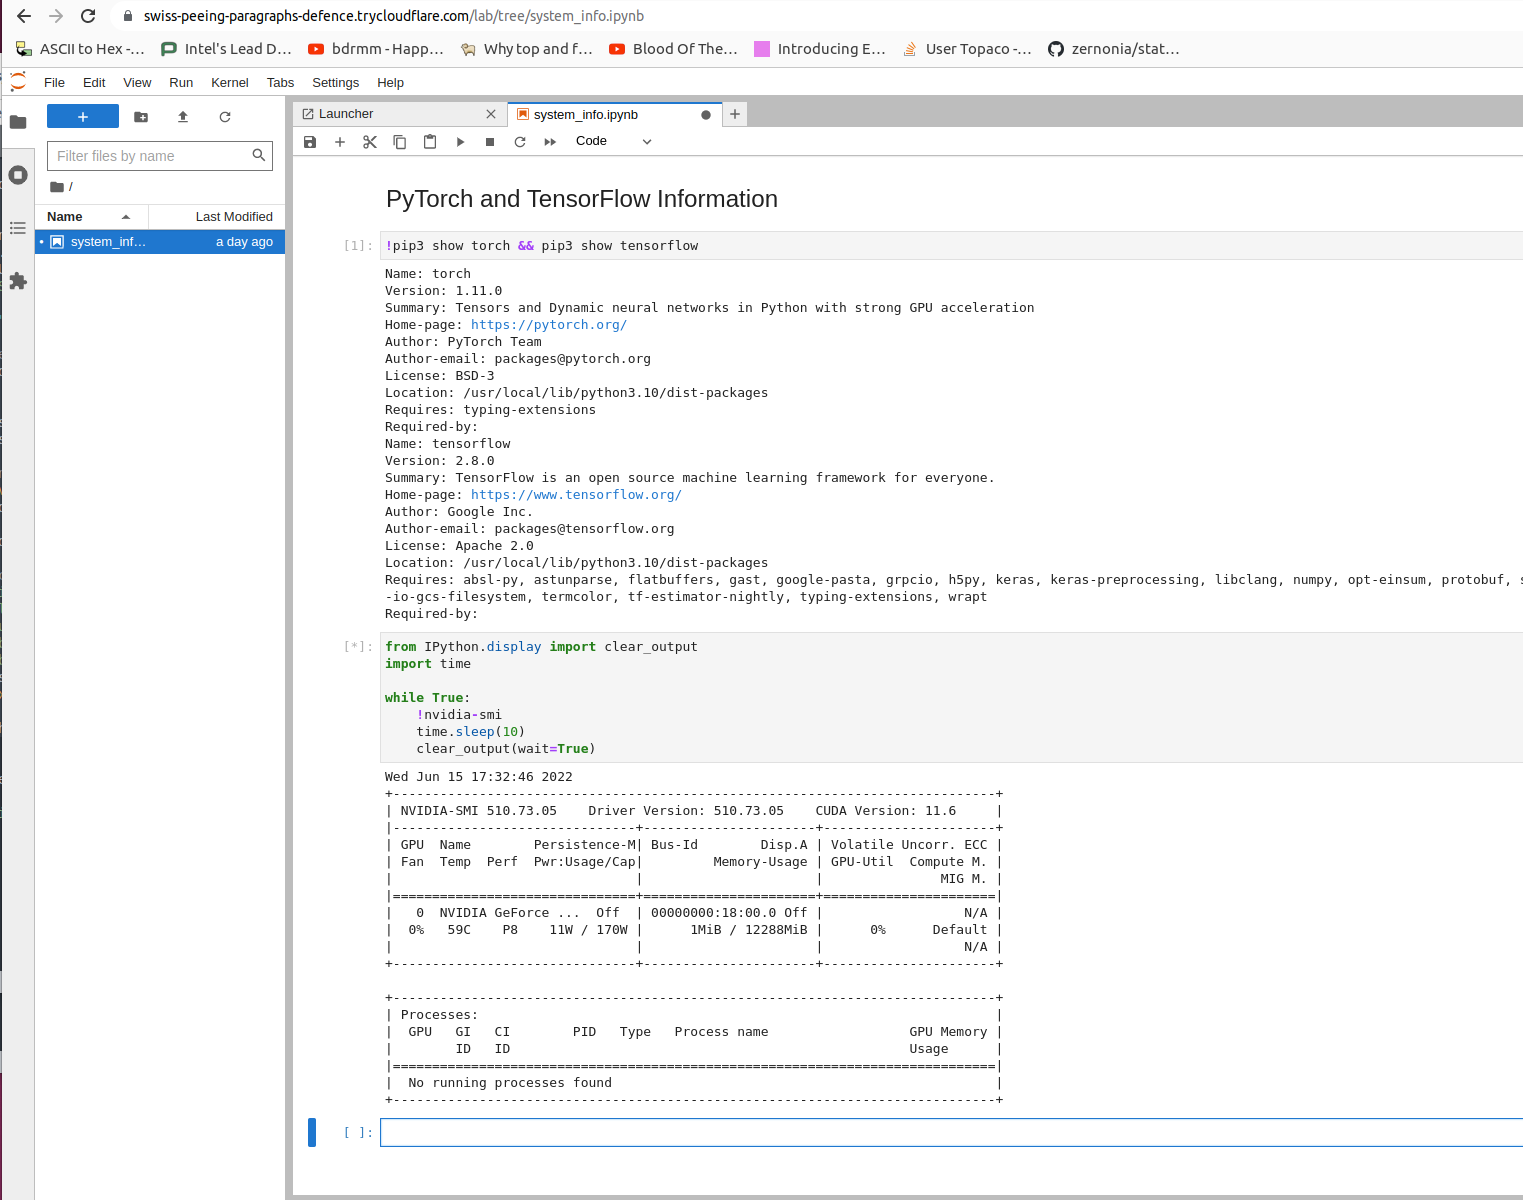
When it runs we can see the notebook URL get put as the CFTunnel URL into cftunnel key on the job.
Click open notebook and we are in.